
By Martin Jansen, Owner of Jansen-PCINFO
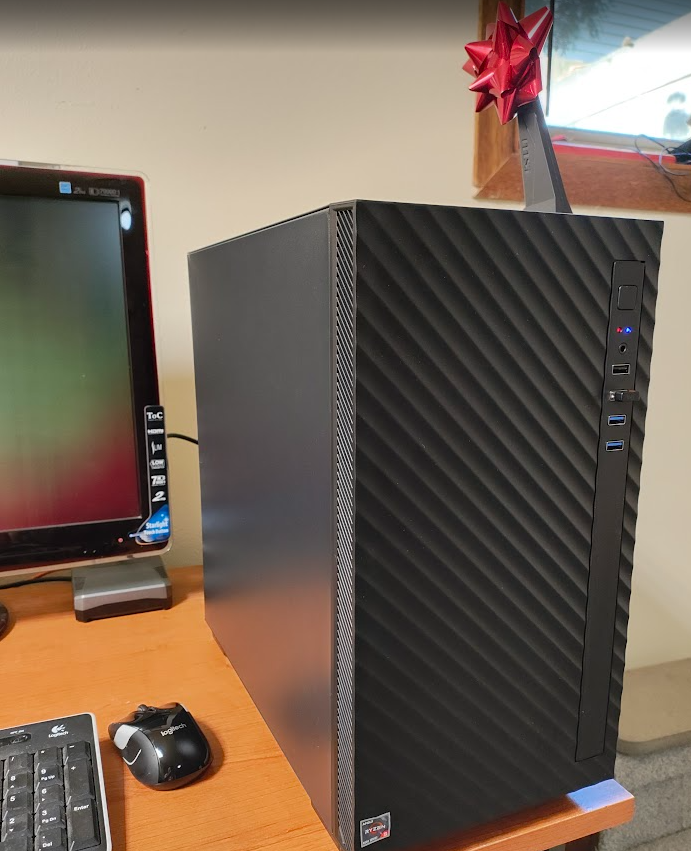
Some might say it’s impossible, especially with RAM prices going up through the roof. But, for my birthday, I did build my brand new computer for well under $600.
You can build a desktop computer with technically older parts, but a new computer with great specs was my goal. I wanted my computer to be good for at least 5 years.
Start with the Case
Now this is an economic build, so I was looking for a combined case and power supply. My research was complete when I found a Rosewill case and 400 watt power supply for around $75:
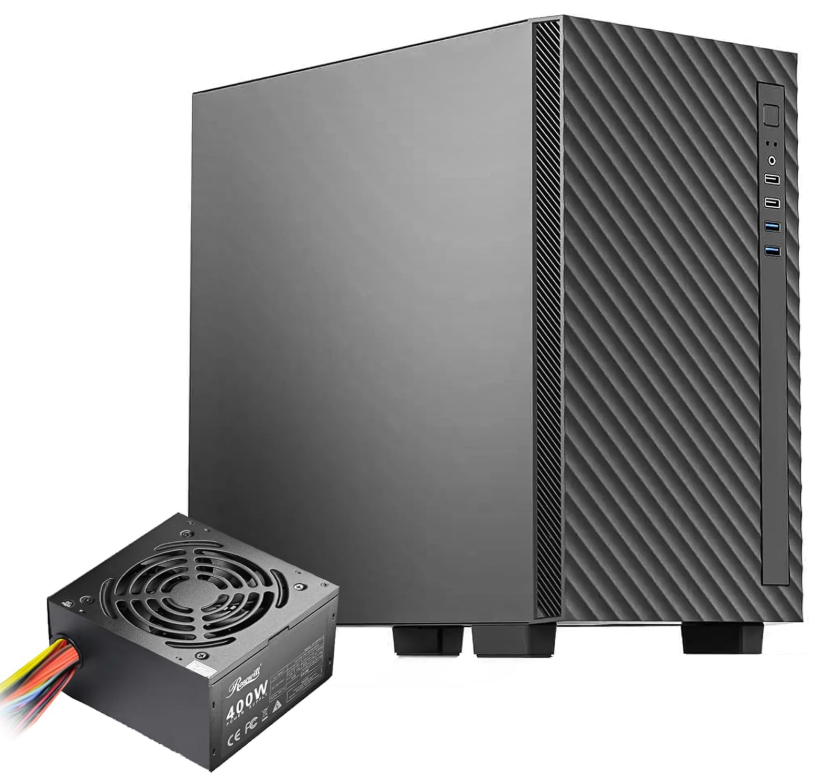
The case is not totally ugly and has great reviews. I’m not really into the RGB cases that light up like Christmas trees.
Next Up, Motherboard
The choice of a motherboard required a great deal of research and comparison of available boards. I went with a small case, so I needed a micro ATX board. ATX stands for “Advanced Technology Extended,” which is a standard developed by Intel to improve compatibility between components of a computer build.
It was decision time. Did I want to build a computer using an older AMD AM4 motherboard, or did I want to buy a new AM5 motherboard? AM4 uses older RAM (DDR4) and older processors.
I never even considered a modern Intel board – I’m sure it would have blown my budget and lately there have been reports of CPU failure.
Since I was trying to future proof my new system, I wanted newer specs.
I settled on an MSI PRO B850M board with WIFI:
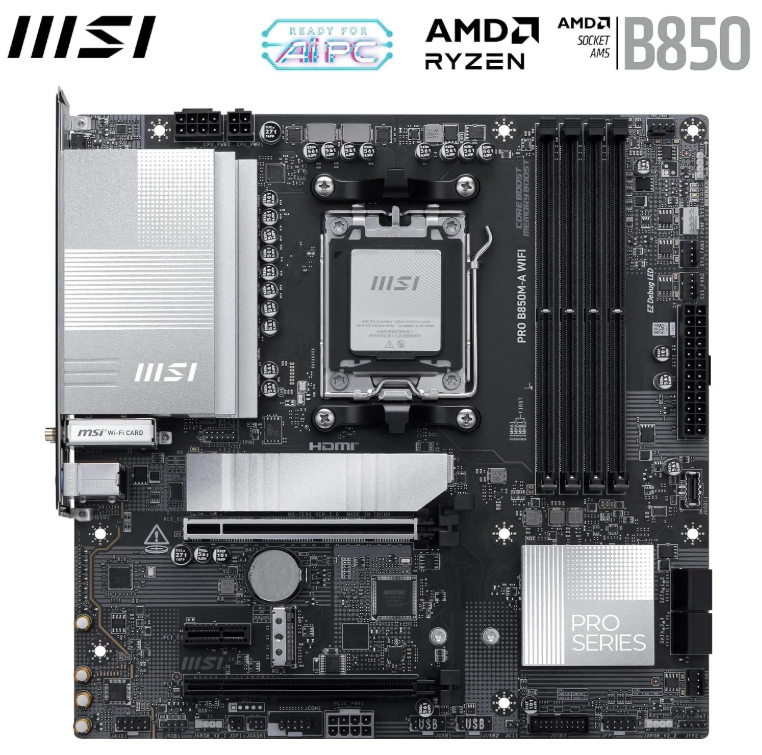
The specs are impressive. 4 DDR5 memory slots, on board PCIe M.2 slots for storage and WIFI 7. The back panel has 2 USB-C ports, 6 regular USB ports, wifi connectors, 2.5 Gigabit Ethernet, Display Port, and HDMI. The price was about $150.
Assembly Required
After the motherboard arrived, I took my time and carefully installed the board in the case. Fortunately the case manufacturer pre-installed some stands for the motherboard and MSI had complete directions online on how to install the necessary power cables and switches. There was some question on whether the 4 or 8 CPU power connector was necessary, but the board indicated CPU1 only needed a 4 pin connector, leaving another free to power a GPU, if needed.
I was able to route my cables cleanly without impeding airflow though the case.
Which Centralized Processing Unit (CPU)?
Here again, I had to make a decision. Did I want a CPU with or without graphics? If I went without graphics, I would have to purchase a separate GPU, like this ASRock Intel Arc A380:
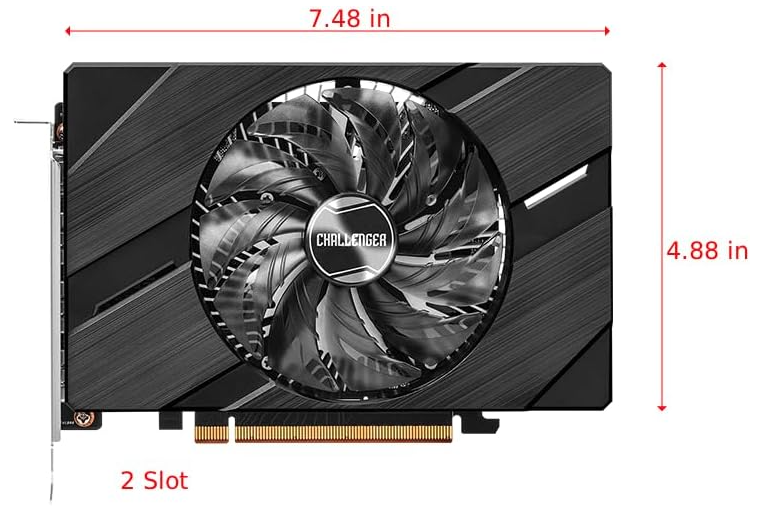
But I didn’t want to incur extra cost. Instead I went with an AMD Ryzen 5 8600G where the G stands for graphics. This processor came in at under $200.
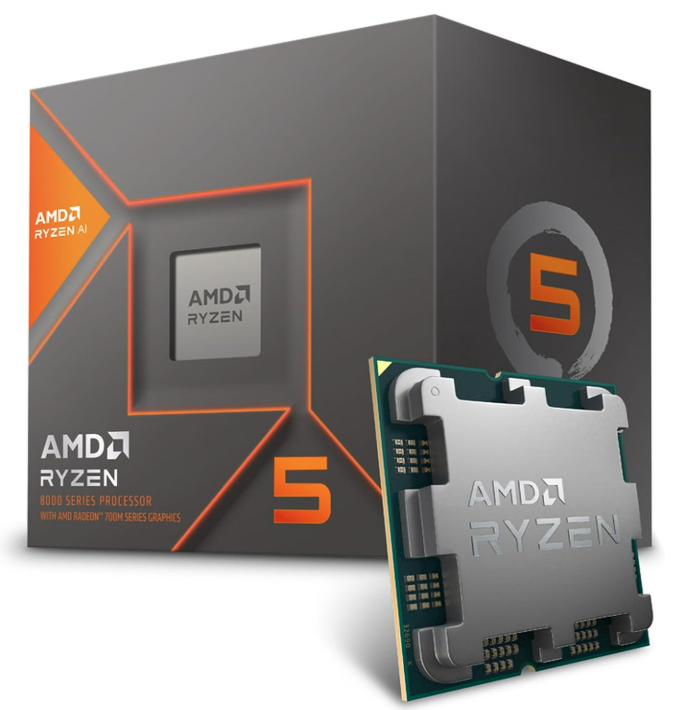
I was impressed with the reviews as compared to the 8500G which has limited upgradability. It was worth the extra $40 to get a superior CPU.
Don’t Forget the Memory
As previously mentioned, RAM prices have gone crazy and I don’t see them dropping soon, if ever. So I started with a name brand at a good price. I was able to get a Lexar DDR5 8 GB stick for $120.
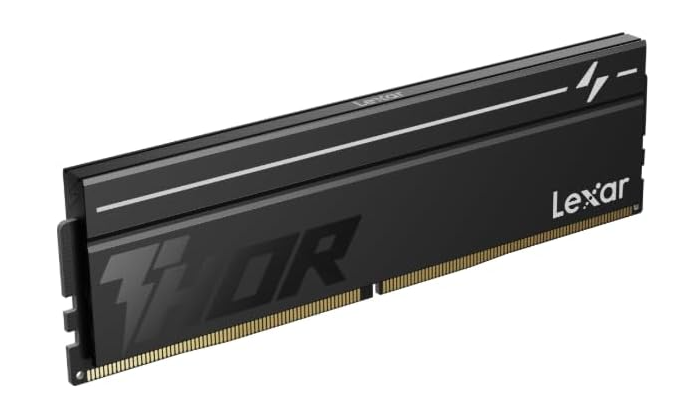
Finally to complete the build, I went with a NVMe 1TB storage. Here I cheated a bit as I already had the drive in an enclosure. I bought it when you could get a 1TB drive for around $80. Now that price has doubled, however, you can still buy a 256GB drive for around $50 today. This is plenty of storage for an operating system and some local files and still would be under $600 for the complete build.
Final Assembly
CPU installation went very well and the processor came with a Wraith cooler that already had thermal paste factory applied. I removed the installed brackets to screw down the cooler.
The RAM and the NVMe drive were literally a snap to install.
Moment of Truth
Time to plug in the computer, insert the WIFI antenna connector, plug in the HDMI to a monitor and see if this new computer works.
With the case open, I pressed the power button and waited for something to happen. At first the fans started spinning which is a good sign, but nothing appeared on the monitor. There were no beeps or any other indication that something was wrong.
Finally, after a few seconds the UEFI BIOS screen appeared. PHEW! Apparently it took a few seconds for all the components to be recognized by the motherboard.
I had a fully working new computer for under $600. Now to install an operating system.
Zorin OS
Many YouTubers have been reviewing Zorin OS, and I can confirm it is an excellent OS based on Ubuntu. I did try Zorin on this new build and I will write a review later about this great distribution.
Like many Linux distributions the steps are the same to create the installation media and install:
- Download the ISO from the website
- Have an empty 8 GB or higher USB drive available
- Use Rufus, balenaEtcher, some other USB Image Writer to write the ISO to the USB drive, wiping all other data from the drive!
- Boot the PC from the USB drive, making sure Secure Boot is disabled, using your boot key or setting the BIOS to boot from USB first.
- Try the distribution first making sure it is compatible with your hardware, especially WIFI and GPU cards.
- If all works, click on the install icon and work through the on screen prompts.
Linux Mint
Eventually though, I went back to Linux Mint Cinnamon 22.3 for this build. I’m sure that Windows would run nicely as well, but that would be a terrible idea.
Why would I go back to Microsoft Windows with all the problems it presents?
Linux Mint offers some great backup tools to transfer my files and apps to a new computer. Plus it has TimeShift to recover my OS should the worst happen.
After updates and other minor set up steps, Linux Mint is working great on my new computer.
Conclusion
I created a spreadsheet to review the costs at the time of the build. This includes my theoretical 256 GB drive for about $50:
| Jansen PCINFO Computer Build 2026 | |
| Part | Price |
| Rosewill Micro ATX Mini Tower Desktop Computer Case, Pre-Installed 400W Power Supply | $70.00 |
| MSI PRO B850M-A WiFi Motherboard, mATX | $160.00 |
| Lexar OC DDR5 RAM 1x8GB 6000MHz CL38 288-Pin UDIMM Desktop Memory | $120.00 |
| AMD Ryzen 5 8600G | $190.00 |
| Patriot P300 M.2 PCIe Gen 3 x4 256GB Low-Power Consumption SSD | $55.00 |
| Total | $595.00 |
I’ve been remoting into the new computer using RustDesk, tweaking it for use on my birthday.
Wow! I’m impressed.
Thanks Deb. There’s something satisfying about building a computer yourself. BTW I’m writing this using my new computer.
Your under-$600 build is a useful reminder that choosing compatible parts matters as much as chasing the newest spec. The “Moment of Truth” section is a good point to check the monitor as well as the tower: confirm the native resolution, then show white, black, and primary-color fields to look for fixed dots or uneven areas. That separates a display observation from CPU, memory, or boot testing; it does not certify the hardware. Display Checkup’s new-monitor inspection guides a short browser-based check and lets you keep a local report, a practical final step when bringing a new build online. It also avoids pressing on the panel, which can cause damage.
Ethan, thanks for reading and your insightful comments.